Trezor.io/start — The Ultimate 2025 Setup Guide for Your Trezor Hardware Wallet
Welcome to the complete, redesigned, long-form guide dedicated to helping beginners and intermediate crypto users set up their hardware wallet securely through Trezor.io/start. This is a full, visually enhanced 2000-word tutorial that walks you from unboxing your device to activating advanced security features, all styled in clean, handcrafted HTML.
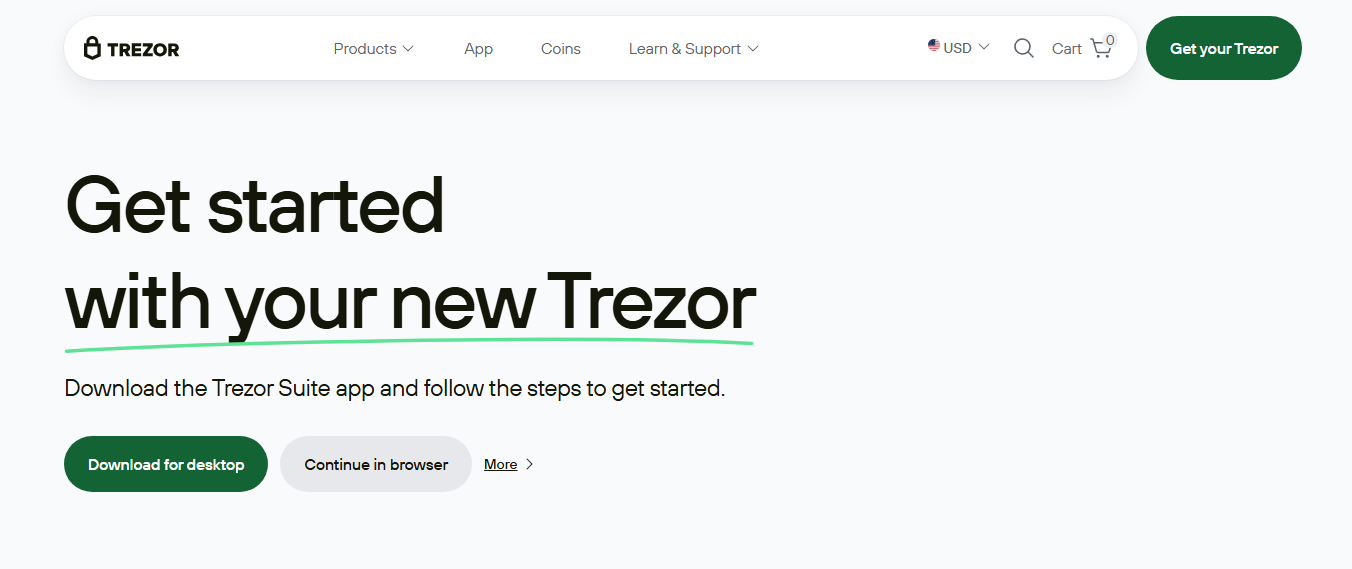
What Is Trezor.io/start?
Trezor.io/start is the official onboarding portal designed specifically for new Trezor hardware wallet owners. It is the only correct and secure place to download Trezor Suite, initialize your device, update firmware, create a crypto wallet, and back up your recovery seed.
As cyber-threats and phishing websites increase, the simplicity of having a centralized, safe starting point makes Trezor.io/start essential for all new users. Whether you’re storing long-term investments, transferring funds from exchanges, or exploring new Web3 opportunities, everything begins with this portal.
Why Crypto Security Starts With a Hardware Wallet
Think of your crypto as valuable gold stored in a digital vault. Exchanges act like banks—they’re convenient, but the keys to your assets are not truly in your hands. A Trezor device is more like owning your own secure safe at home. Your private keys stay offline, sealed within hardware that malware cannot touch.
Concepts such as cold storage, cryptographic signing, seed phrases, and decentralized key ownership form the foundation of this approach. Trezor.io/start ensures you begin this journey with confidence, understanding each step of the setup process.
Step-by-Step Setup Guide via Trezor.io/start
Below is a complete, refreshed walkthrough for initializing your Trezor Model One or Model T using the official website. Each stage includes clear explanations and security recommendations so you understand not just what to do, but why it matters.
1. Inspect Your Package for Authenticity
Trezor products come with tamper-evident packaging designed to expose unauthorized access. Look for damaged seals, inconsistent printing, or missing accessories. Authenticity is your first defense against supply-chain attacks.
2. Connect Your Trezor Device
Plug the device directly into your computer using the provided USB cable. Avoid public or untrusted computers during initialization.
3. Visit Trezor.io/start
Open your browser and manually enter Trezor.io/start. Avoid clicking unknown links; phishing pages often mimic legitimate sites.
4. Download & Install Trezor Suite
Trezor Suite is the official desktop application where you manage coins, wallets, portfolio charts, and security preferences. It replaces older browser-based systems to give you more control and privacy.
5. Install Firmware Updates
Firmware is the internal operating system of your hardware wallet. New devices often ship without firmware for security reasons, so installing the latest version is required for operation.
6. Create a New Wallet
Trezor Suite will prompt you to generate a fresh, unique wallet. Crypto-grade randomness ensures your private keys cannot be guessed or reproduced.
7. Secure Your Recovery Seed
Your recovery phrase—12, 18, or 24 words—is the ultimate backup for your wallet. It must be written on paper and stored offline. Never type or photograph it.
8. Set Your PIN & Optional Passphrase
A strong PIN protects the device from unauthorized access. A passphrase (optional) adds an additional layer of encrypted security, creating a hidden wallet accessible only by you.
9. Start Managing Crypto
Add accounts, receive funds, make transfers, review portfolio performance, and interact with compatible Web3 services. Every transaction requires device confirmation, keeping your assets safe.
Trezor Model One vs. Trezor Model T
| Feature | Model One | Model T |
|---|---|---|
| Touchscreen | No | Yes |
| Supported Assets | Most major coins | Broader support |
| Security Level | High | Maximum |
| Best For | Budget |